Iron Crag scramble on Middlefell
Posted by Sam Harrison on October 18, 2014 at 12:55.
lake district middlefell scrambling wasdale
We spotted this little scramble in the "Scrambles in the Lake District" Cicerone guide when we found ourselves with some free time in Wasdale, back at the start of the summer (the 20th July in fact). As we were soon to head out to the Alps, and being it a grade 3 (the hardest end of the scramble grades), we thought it would be a good opportunity to rope up and practice moving together. It proved good practice, and at the top of actual scramble, we de-roped and traversed southwards to the broken rocky buttresses leading the way up Middlefell, picking the most interesting looking routes to extend the scrambling as long as we could.
Exactly two months later (to the day!), I found myself back in Wasdale. This time, the plan was to take my Dad to the top of Pillar Rock, the only Nuttall that requires climbing to do so. He isn't a climber and so I thought the Iron Crag scramble when make a perfect route to practice some ropework skills and, more importantly, practice some abseiling skills. I'll leave the description of Pillar Rock for another day, and instead here give a bit more detail about the Iron Crag route, which hopefully someone will find useful as a supplement to the guidebook description.
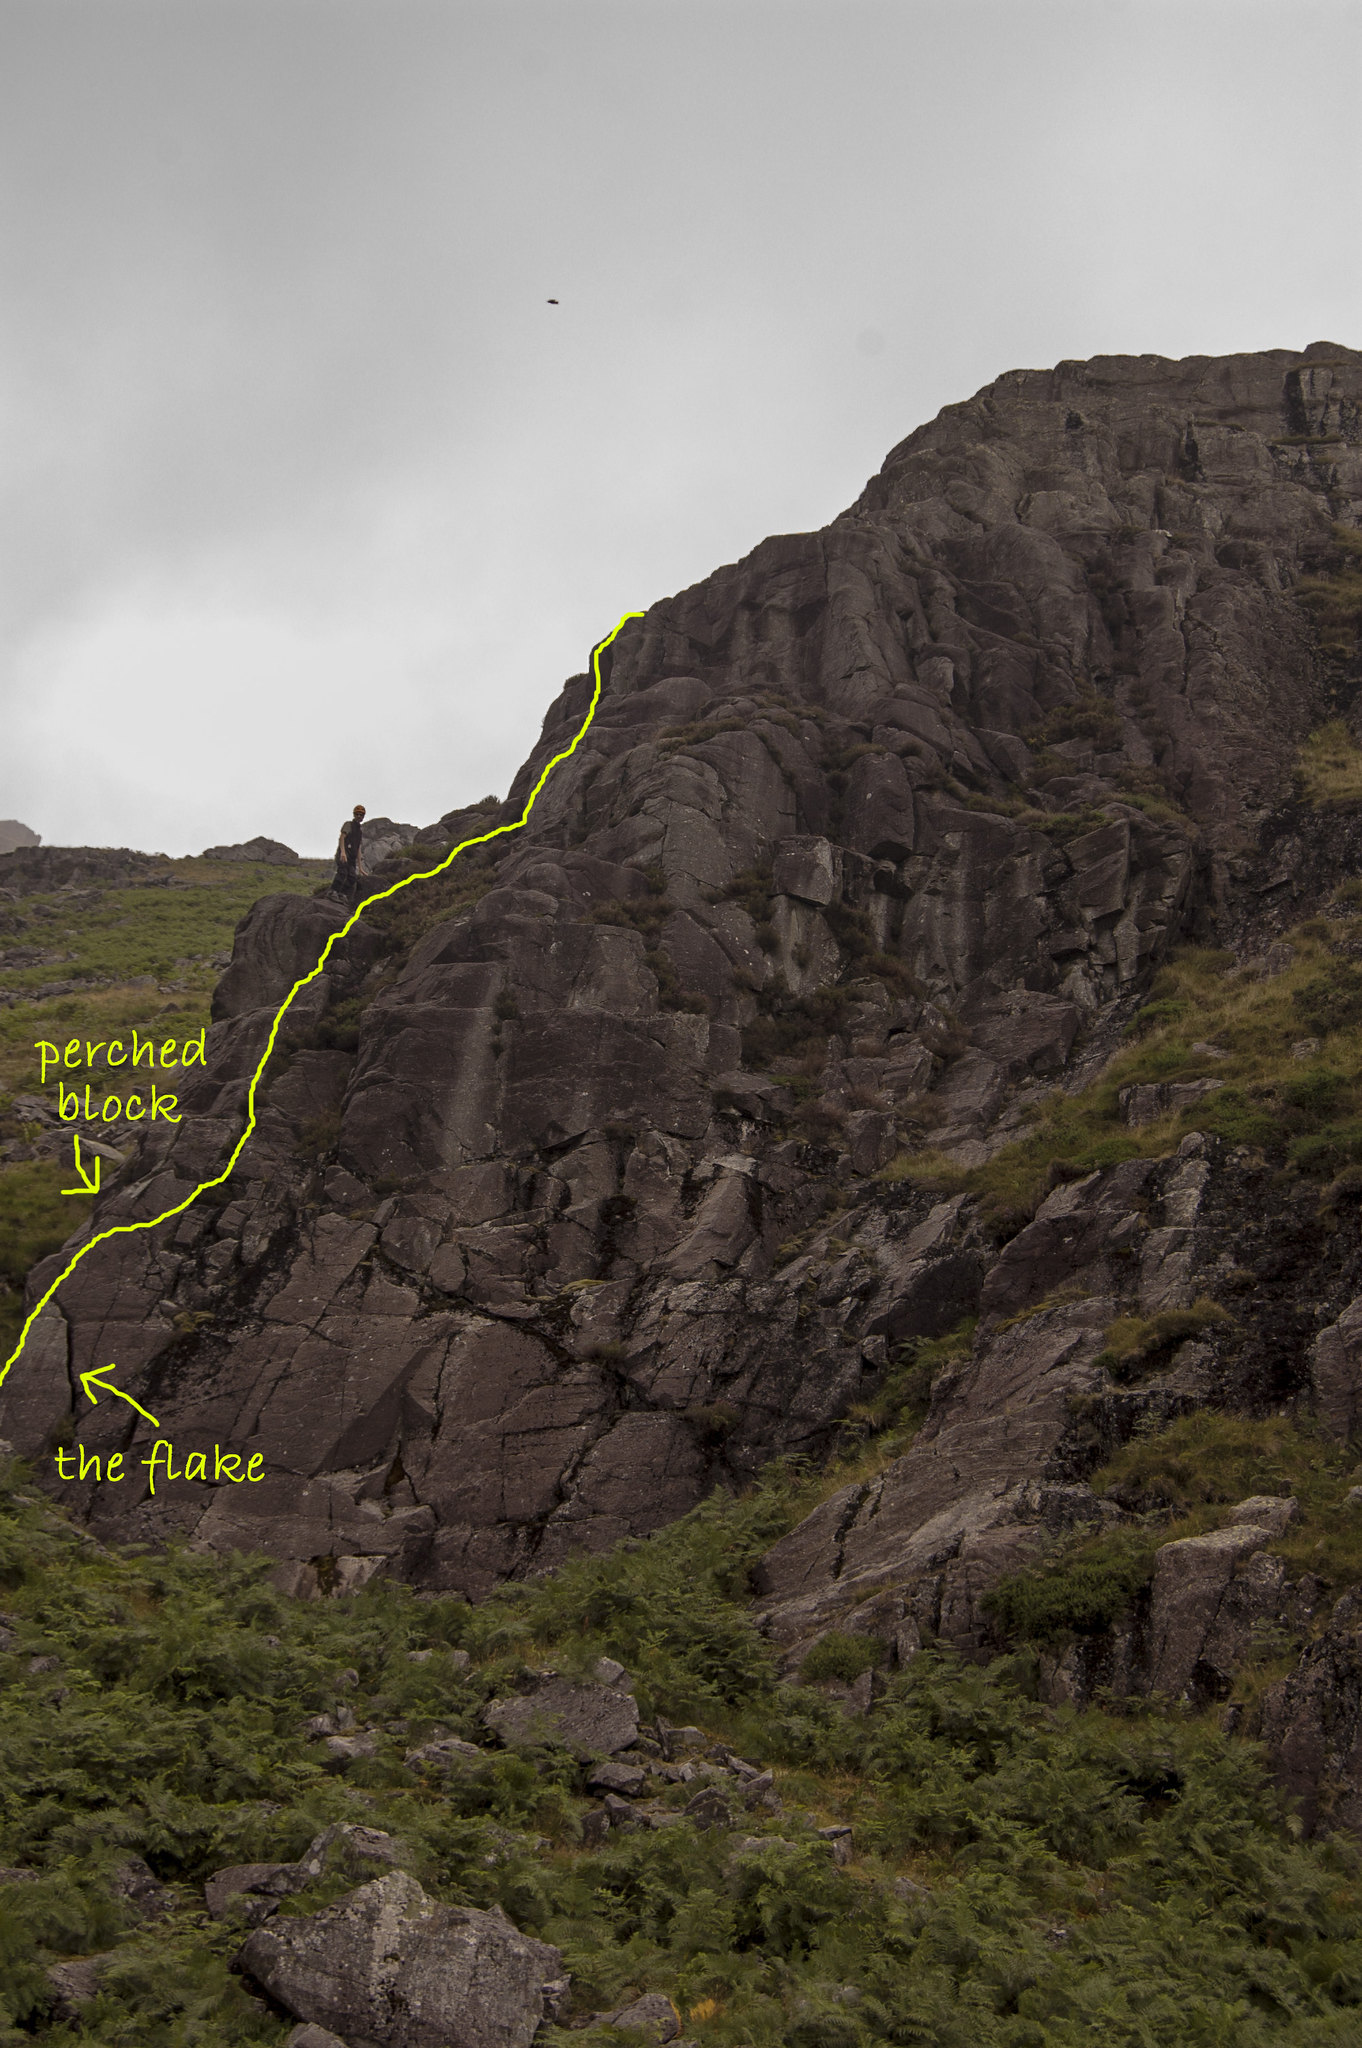
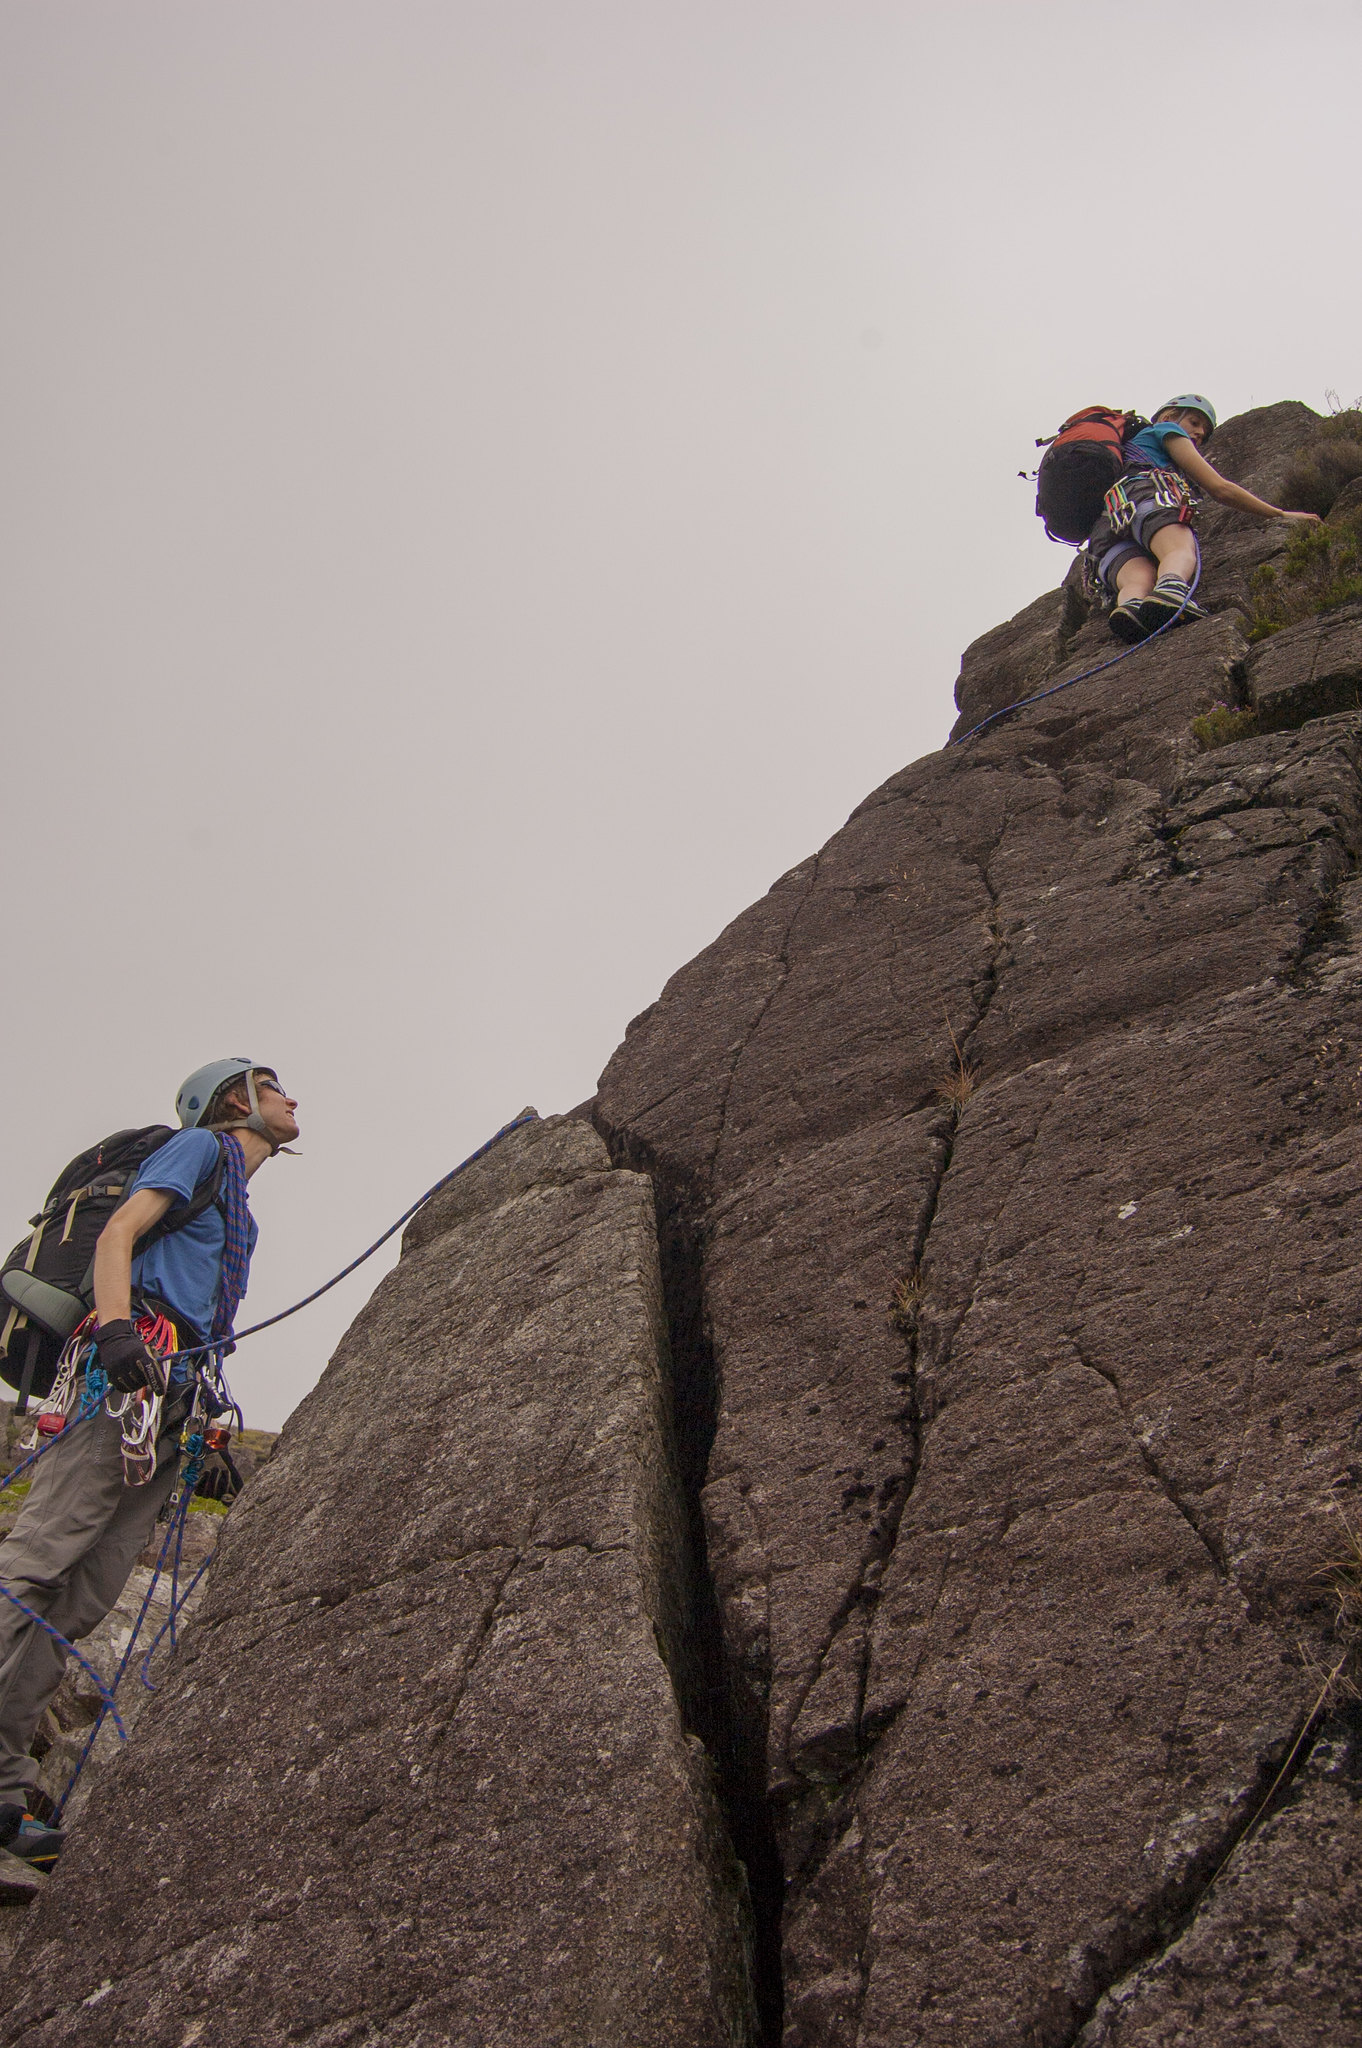
The grade 3 route takes the buttress on the left, starting at a large flake at its base which makes for a good belay should you wish to deploy the rope. Either climb on top of this flake and move directly up the buttress's left edge, or move around the corner a metre or so and gain this left edge with a few moves up a steep wall (the latter is probably slightly easier and I believe what the guidebook describes). After another few moves, you will reach a perched block which comes with the guidebook description "do not touch". I strongly recommend you follow the guidebook's advise; the block really is just perched, waiting to be pulled off should an unsuspecting climber try and heave themselves up using it. Frustratingly, not being able to use the block for handholds means a delicate traverse rightwards it required to avoid it, before a further step takes you into a little groove. Depending on the time of year, you might find yourself confronted with a large patch of gorse to negotiate. Pick whichever direction feels easiest (and least prickly) for you, either up the groove or leaving it on the left or right. You'll find find yourself at the bottom of a steep wall, which climbing on its left offers good holds in an exposed position. Easier scrambling brings you to the top and a southwards (leftwards) traverse to the to uppermost sections of Goat Crag enables one to extend the scrambling fun right up to the summit of Middlefell.
An excellent route, well worth the short walk in and a round trip from the car back to the car can be made in a few hours.
Exactly two months later (to the day!), I found myself back in Wasdale. This time, the plan was to take my Dad to the top of Pillar Rock, the only Nuttall that requires climbing to do so. He isn't a climber and so I thought the Iron Crag scramble when make a perfect route to practice some ropework skills and, more importantly, practice some abseiling skills. I'll leave the description of Pillar Rock for another day, and instead here give a bit more detail about the Iron Crag route, which hopefully someone will find useful as a supplement to the guidebook description.
Overview
Considering it is so close to the road, I'm surprised this scramble doesn't get more traffic than it does. It's superb fun, and whilst the best section isn't long, there are plenty of options to extend your day, working your way up Middefell as you wish. The guidebook gives it one star, I personally think it deserves two. The main route comprises four sections of rock, interspersed with heathery shelves in between. The bottom three sections are far easier (grade 1), and it's the final steep and exposed buttress which when taken directly gets a solid grade 3 (though this can be bypassed to the right to keep it at grade 1). Whether you need a rope or not is personal choice; I wouldn't take one if I were to do it again and if you're confident scrambling exposed routes at a grade 3 standard (think Pillar Rock, Pinnacle Ridge's crux wall) then you probably won't need one either, but I leave that up to you to determine.The route
You can park either at the bridge over Netherbeck, or if there are no spaces there, at larger car park at Overbeck bridge. After crossing over Netherbeck bridge, take the first gate on the right and follow the path momentarily until it reaches the traversing path heading up Netherbeck itself. You'll already be able to see your route; a set of four tiers of rock - the latter-most being the largest and most serious looking - positioned to the right of a wide scree-strewn gully. Work your way straight up the slope towards the bottom tier, choosing whatever route looks least brackeny. After some considerable wading effort (depending on the time of year), you should find yourself at the bottom of the first easy-looking rock section, which after a few steps leads you through more bracken to a rocky nose, which is climbed on "shelving mossy rock". The route finding here is straightforward. A patch of scree and some more bracken leads you to another steep nose, which this time is climbed on its left before further easier rocks and another grassy patch leads you to the base of the ominous-looking final buttress, where the fun begins!
The route of the uppermost rocky tier; the grade 3 part of the route. July 2014.

Imogen having just traversed under the perched block. July 2014.
The grade 3 route takes the buttress on the left, starting at a large flake at its base which makes for a good belay should you wish to deploy the rope. Either climb on top of this flake and move directly up the buttress's left edge, or move around the corner a metre or so and gain this left edge with a few moves up a steep wall (the latter is probably slightly easier and I believe what the guidebook describes). After another few moves, you will reach a perched block which comes with the guidebook description "do not touch". I strongly recommend you follow the guidebook's advise; the block really is just perched, waiting to be pulled off should an unsuspecting climber try and heave themselves up using it. Frustratingly, not being able to use the block for handholds means a delicate traverse rightwards it required to avoid it, before a further step takes you into a little groove. Depending on the time of year, you might find yourself confronted with a large patch of gorse to negotiate. Pick whichever direction feels easiest (and least prickly) for you, either up the groove or leaving it on the left or right. You'll find find yourself at the bottom of a steep wall, which climbing on its left offers good holds in an exposed position. Easier scrambling brings you to the top and a southwards (leftwards) traverse to the to uppermost sections of Goat Crag enables one to extend the scrambling fun right up to the summit of Middlefell.
An excellent route, well worth the short walk in and a round trip from the car back to the car can be made in a few hours.

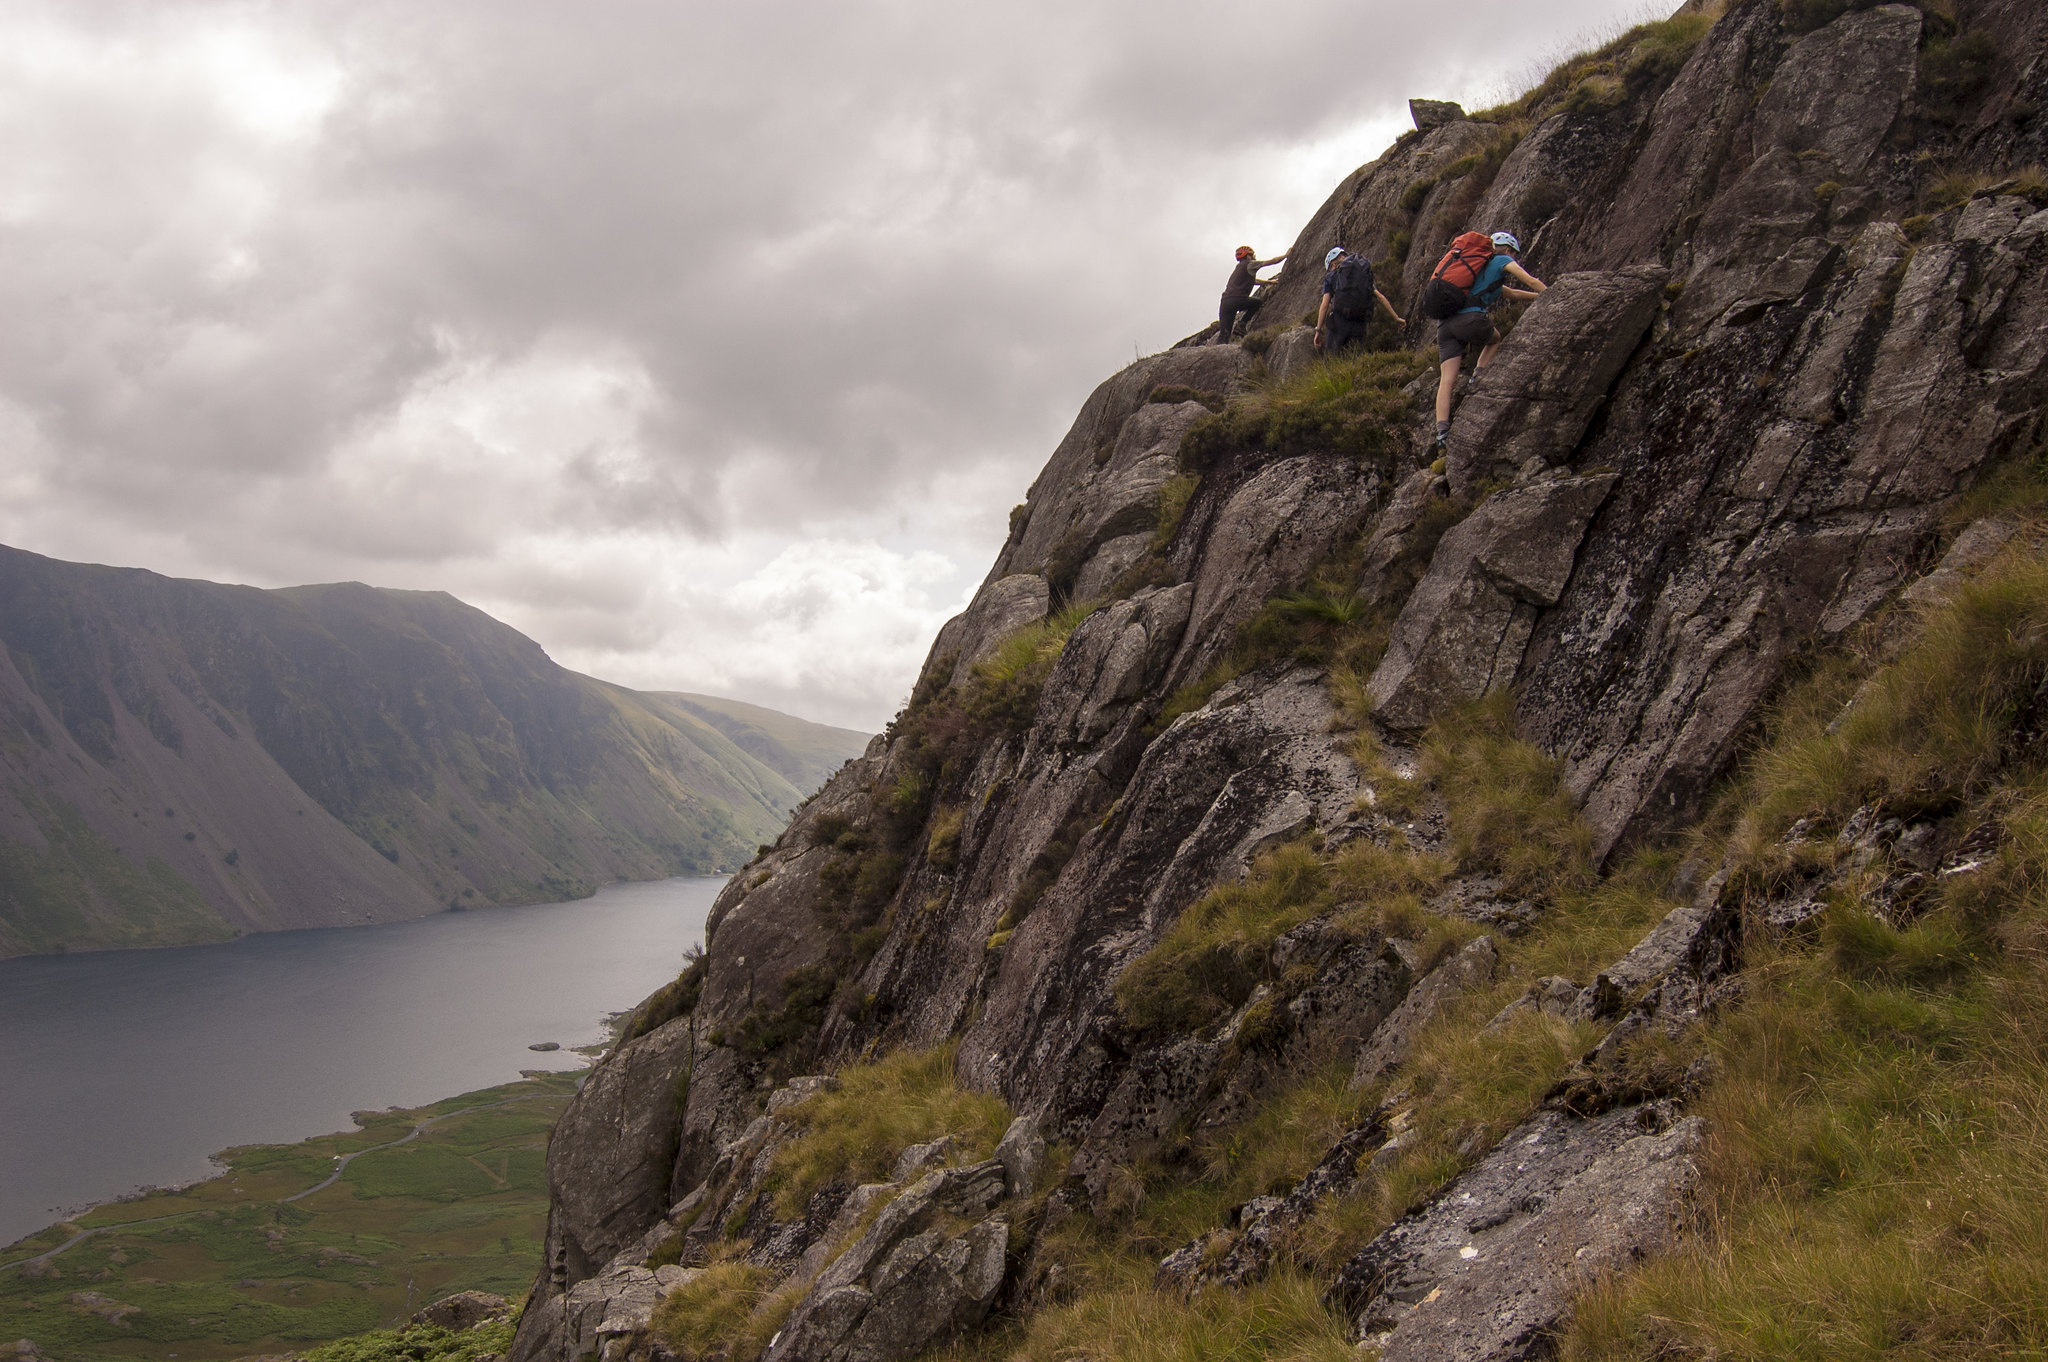
Fun scrambling on the upper section of Goat Crag, Middlefell. July 2014.